Set Up Your Employee Directory
The easiest way to keep your employee list up-to-date over time is to integrate with your HRIS/Payroll system. Reach out to support@teamengine.io for support in this process.
There are two different ways to manually manage employee information in Team Engine: upload an employee list or add individual employees.
1. Upload an employee list
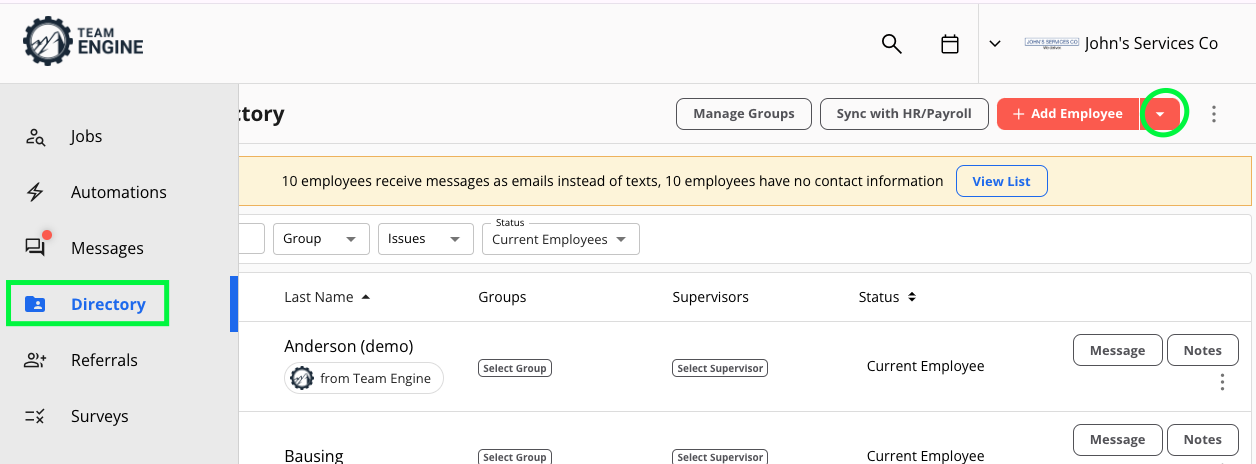
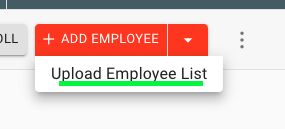
If you visit the "Directory" tab in the left side menu, you'll see a button on that page that says "Add Employee" click on the drop down arrow and choose "Upload Employee List"
Clicking that will bring up a window with instructions on how to import your employee list.
There is also a template you can download by clicking the link below, or reach out to support if you have questions. The template has a color coded header:
- Green: Required information
- Yellow: Information the system recognizes and can be helpful
- Blue: Suggested groups that may be helpful but are completely optional
Team-Engine-Employee-List-Template.xlsx

Once you upload that spreadsheet, we will start processing it and we'll send you an email when your directory is all set up.
Most of the time, you can get a list by exporting it from an existing HR system like payroll, which will hopefully make this a simple process.
If you would like to make your own spreadsheet, you will want the different categories across the top. Each column is information about the employees or a group they are in.
- Their first and last name are required, although you can also add a column for nicknames if you would like.
- Phone number is also required. These will be the phone numbers the system will send texts to when you send messages to employees. Please do not include country code: "1" or "+1."
- There are several other categories that the system can recognize that can be helpful such as email, supervisor full name, and job title.
- You can also add any other groups that would be helpful to you, such as location or department. This can be helpful when sending announcements.
- For example, if you are making procedural changes to the warehouse and you want to send an announcement to specifically warehouse employees, you can select just that group. All you need to do in this case is create a column labeled "department" and mark which department each employee works in, such as "warehouse" or "office". Rows should only be employees, if you add a category or group to a row the system will register that as an employee.

You can update your employee directory in Team Engine with a new list at any time. Any additional list will be used to update your directory by adding new employees, removing employees not present in the list, and updating any missing or changed information. This can be particularly useful in adding new information to a lot of employees, like start dates or birthdays. Note: Please include employee names, email addresses, and phone numbers to identify employees properly. Any employees not included will be marked as quit/fired as well.
2. Add individual employees
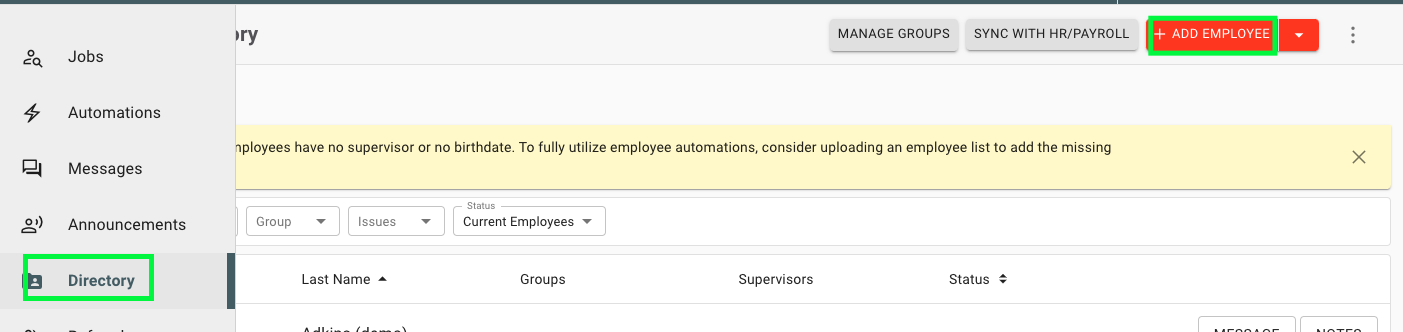
If you only need to add a few employees or just need to make an update to your directory, we also have the ability to quickly create a new employee record manually. If you visit the "Directory" tab and click the button that says "Add Employee" a form will pop up where you can enter their information. You can also click the "Add More Details" button in the bottom left corner to get an expanded list of fields.

3. Delete or combine employees
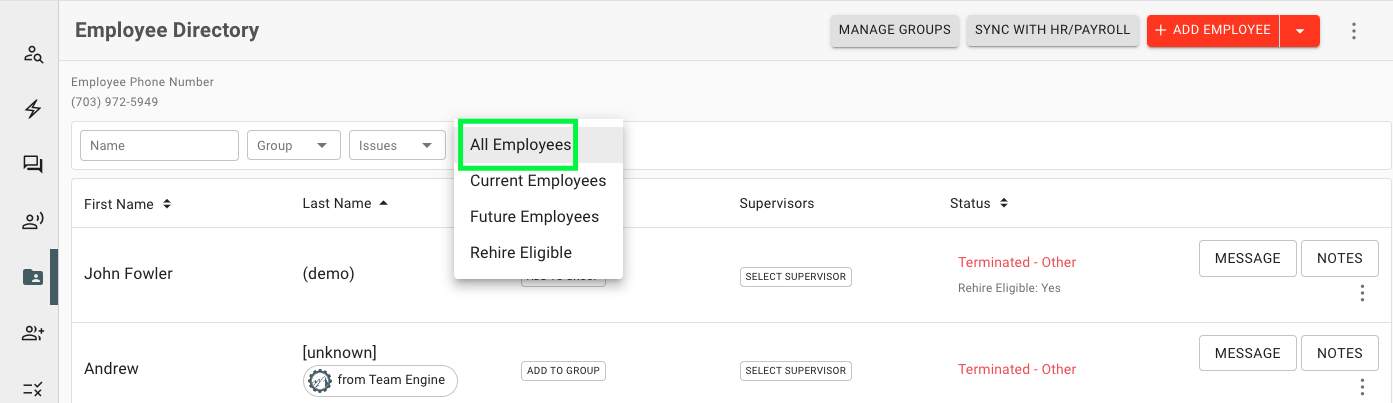
If you need to remove an employee you may either mark them as "terminated" or you can delete or combine their profiles. Marking someone as "terminated" saves their information. You will still be able to view their details by filtering the list to "All Employees".

You can also Delete or combine employees. Deleting removes them from the list entirely, and this can be helpful if an employee is added incorrectly or by mistake. Combining employee profiles can be helpful if there are duplicates. To do this, click on an employee to view their profile. In the top right corner of the employee profile, click the three-dot icon and choose "Delete" or "Combine Employees".
To delete, simply click "Delete" and a screen will pop up asking you to confirm you want to delete this employee. To combine, click "Combine Employees" and a screen will pop up prompting you to choose another employee to combine the profile with. Select the other employee and then review the information, selecting the correct option if there are discrepancies, and then click submit and they will be combined.

